Hello again from La Tempesta team.
Today, we’re going to talk about how to begin creating a project with the SO-CLOSE tools, the story map, web doc and virtual exhibition. Having in mind the tools as shells, what we are going to see is how to publish the project’s content.
Learn once, publish everywhere! The guidelines provided here apply to the three tools as they share a common authoring structure.
First things first, the Home page
Curate the landing page, it is the first thing that your visitors will see!
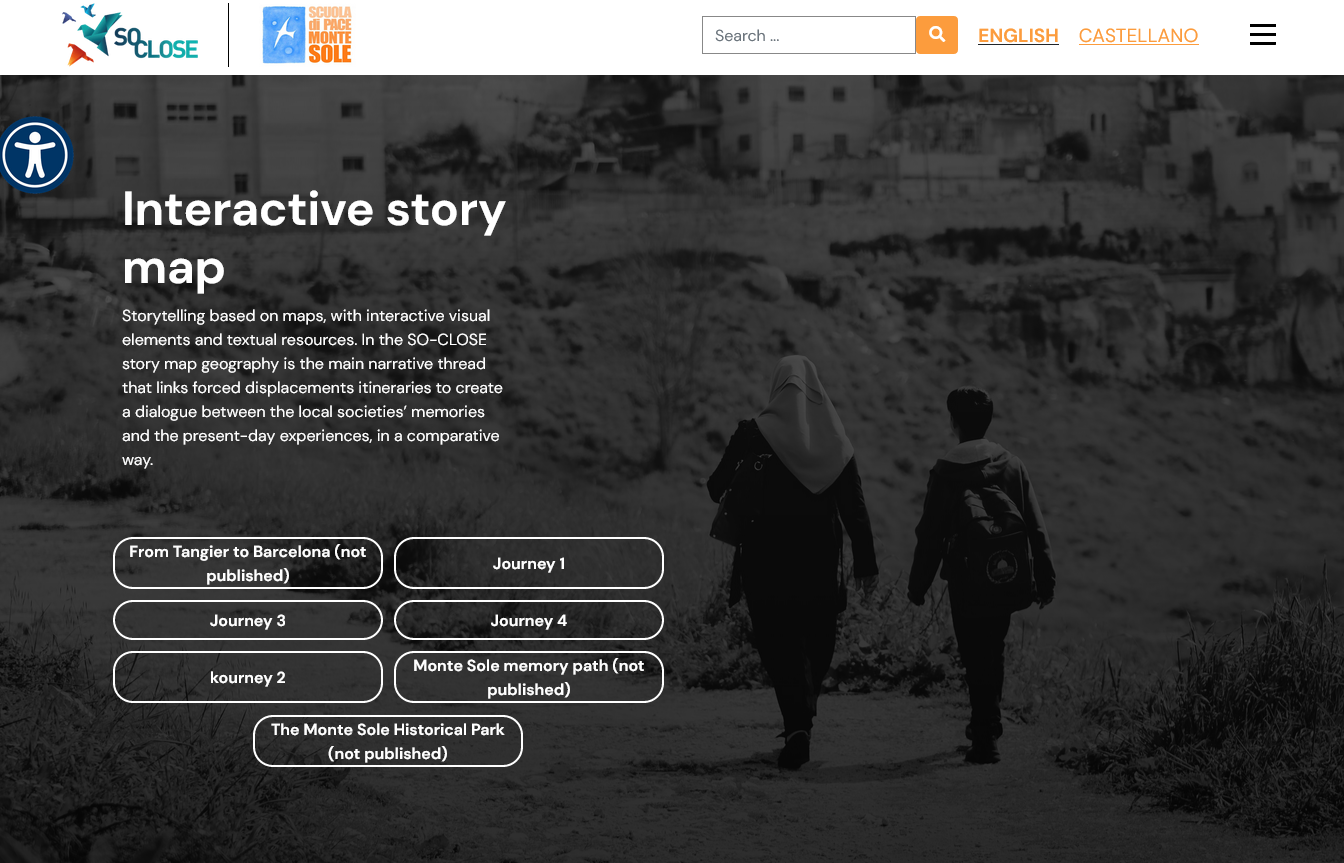
Figure 1. Story map demo Home page ©La Tempesta
Front-end interface elements
There are elements that you can customise from Pages > Home page,
- Project title
- Project description
- Background image
other, such as colours are set from Project style,
- the general colour of the project (letters, etc.)
- the header colour
and finally, stable information is informed in Project settings
- the institution’s logo
- social media on footer.
The Journeys automatically appear once published, stay tuned for the next article, to learn how to build and publish journeys, exhibitions and chapters!
Back-end editor
The authoring interface is user-friendly and doesn’t require none coding skills. There is a direct correspondence between the front-end and the back-end fields.
Following, an example of the title, description, and image editing.
All fields marced with an asterist (*), are mandatory fields.
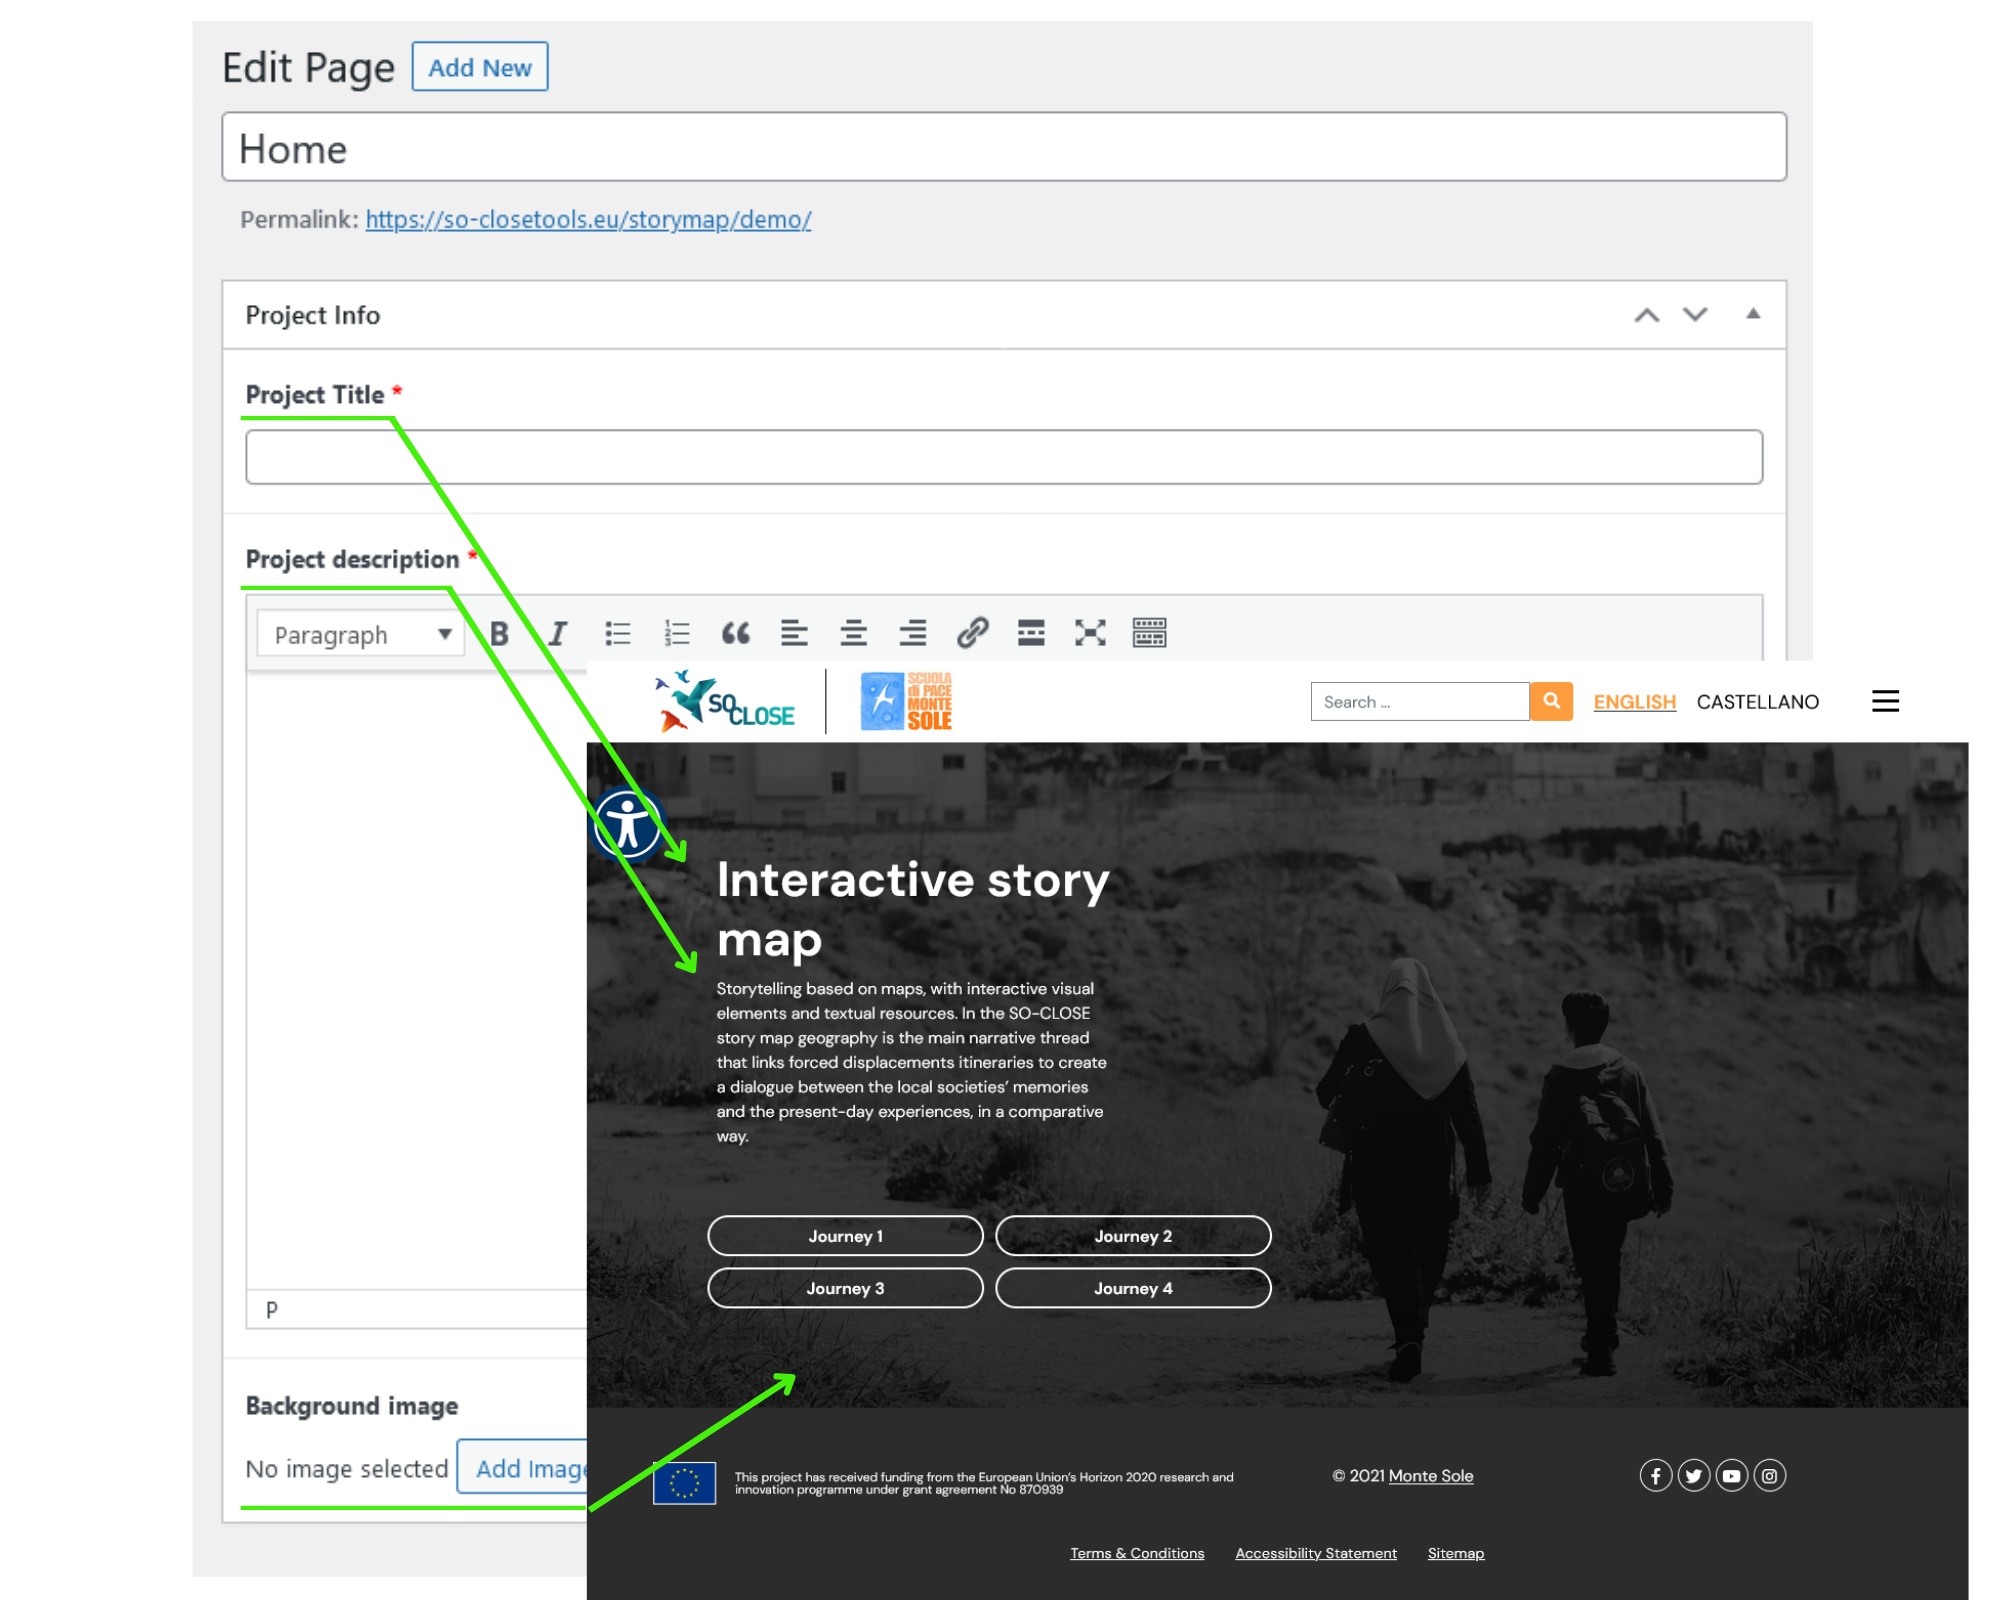
Figure 2.Story map back-end editor ©La Tempesta
Other features that you will find in the web doc (trailer) and the virtual exhibition (featured exhibition and news/items feed) are also editable, in the same way as the use case explained before.
Media + metadata = atomic content
By atomic content we mean the set of media with their metadata. Creating a record of an atomic content you can upload the media that will be displayed in the tools and inform their metadata.
The atomic content records contain a metadata scheme based on Dublin Core standards and are interoperable with the MCP repository. If you publish your project to the MCP, then the atomic content records will be also displayed as items of the Resource manager.
Media types
As explained in previous articles the media that you can upload in each tool are:
- Image (flat) .jpg
- Image 360 .jpg
- Audio .mp3; .mpa; .ogg; .wav
- Video flat .mp4
- Video 360 .mp4
- 3D object .glTF; GLB
Metadata
The metadata are then informed in each record as text values or through multiple choice drop-down menus.
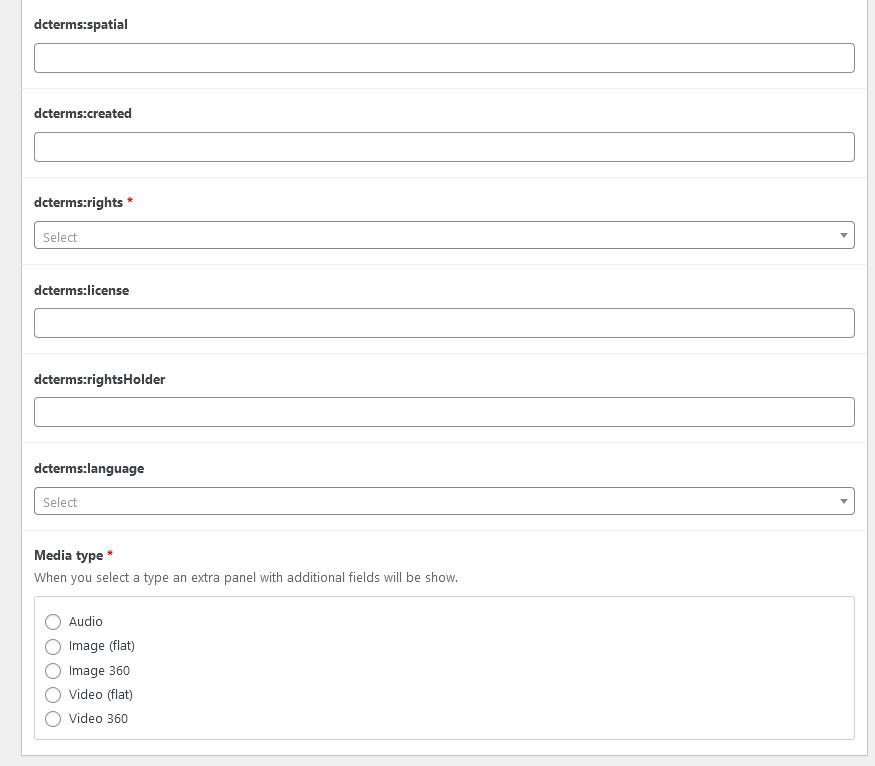
Figure 3. Atomic content record view ©La Tempesta
The atomic content list will allow you to easily access and retrieve your records.
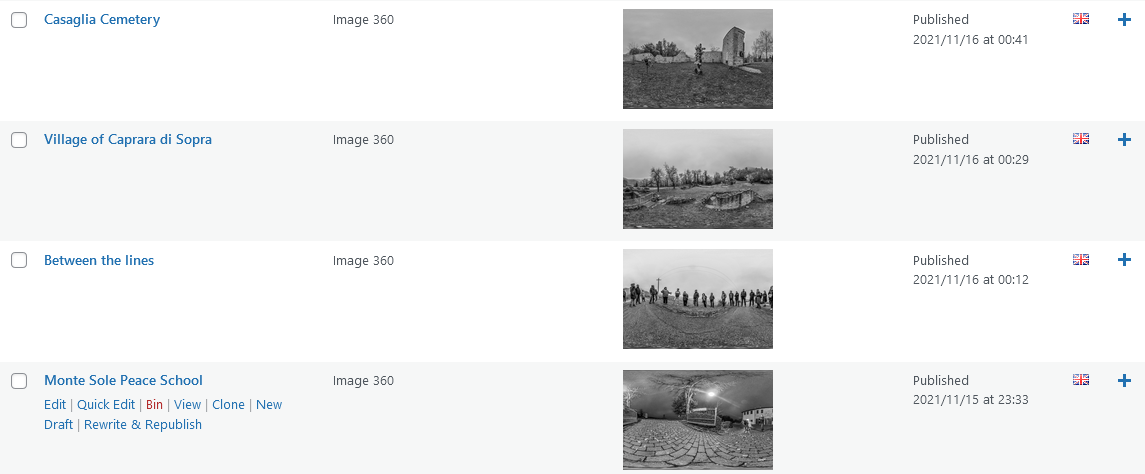
Figure 4. Atomic content list ©La Tempesta
Keep up and create all the atomic content records that you will need for your first journey, chapter or exhibition!
In our next blog article, you will find a brief overview of how to create your own stories with the tools and which are the different modules that can help you do that.
If you’re interested in using the tools or need more information you can contact us at info@latempesta.cc .